
Inside NdFeB Manufacturing: 12 Steps from Raw Alloy to QC
Melting, milling, pressing in field, sintering, machining, coating, magnetizing, testing — where every property you buy is won or lost.
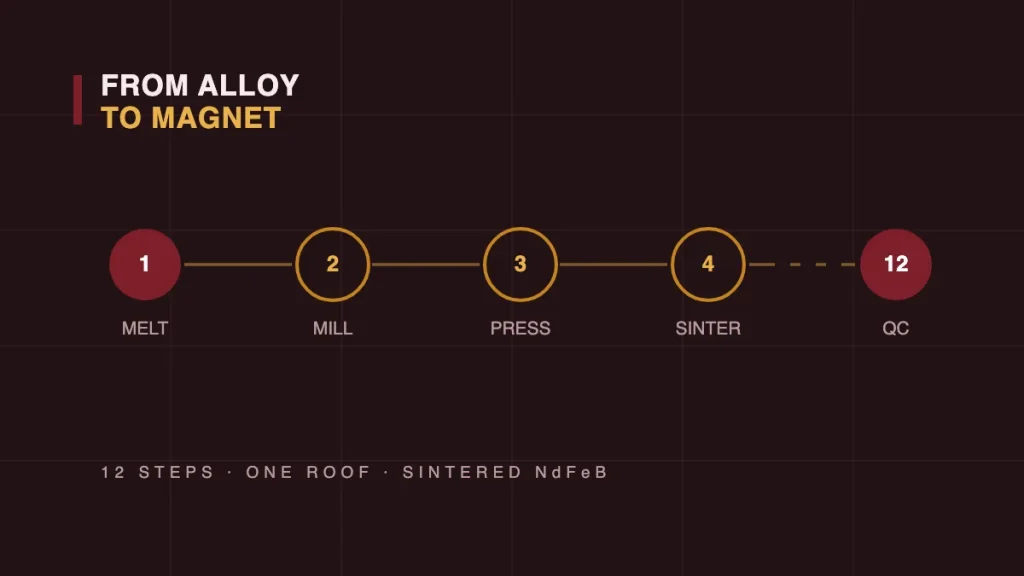
A sintered NdFeB magnet begins as grey metal chunks and ends as a precision component holding a field thousands of times Earth’s. Between those two states sit twelve steps, and every property you buy — grade, tolerance, coating life, consistency — is won or lost at a specific one of them. Here is the tour we give visiting customers, in writing.
Making the material (steps 1–4)
- Melting. Nd, Fe, B and minor elements melt under vacuum, then quench on a spinning wheel into thin alloy flakes — fast cooling keeps the crystal chemistry right.
- Hydrogen decrepitation. The flakes drink hydrogen and crumble, pre-breaking along grain boundaries.
- Jet milling. Nitrogen streams collide particles into a powder of a few microns — each particle close to a single crystal. Powder fineness here decides coercivity later.
- Pressing in field. The powder compacts in a die while a magnetic field holds every particle’s easy axis in one direction. This is the moment magnetization direction is fixed forever — as we noted there, it is a manufacturing property, not a post-process.
Making it solid (steps 5–7)
- Sintering. Around 1050 °C in vacuum, the compact densifies to ~7.5 g/cm³ and shrinks roughly 15 % — predictably, if your process is disciplined.
- Aging. Lower-temperature heat treatment tunes the grain boundaries; this quiet step buys much of the final HcJ.
- Machining. Sintered blanks meet diamond: slicing, ID cutting, grinding, chamfering to final size — the origin of tolerance, covered next month in its own right.
Making it a product (steps 8–12)
- Cleaning & prep before any coating touches the surface.
- Coating. Nickel, zinc, epoxy or e-coat per spec — see the coatings guide.
- Magnetizing. A capacitor bank dumps a pulse many times the coercive field through a fixture; domains align in microseconds. Until this step the part is inert — safer for everything upstream.
- Testing. Flux, dimensions, appearance, coating adhesion; sampled salt spray and declination.
- Packing. Magnetized product ships with shielding and spacing rules of its own — a topic with its own regulations we will write up separately.
Why buyers should care about steps, not just specs
Two suppliers can promise identical datasheets; the twelve steps decide who delivers them in month twelve. Powder fineness drifts → HcJ drifts. Field-press alignment sloppy → Br down two percent across a batch. Aging rushed → magnets that fade in summer. When we say in-house from melting to magnetizing, this list is what we mean — and every step above has a checkpoint that shows up in our numbers, not our adjectives.
Want the tour in person — or a quote that names the steps behind it? Talk to us.
FAQ
Why are magnets magnetized last, not first?
Magnetized parts attract every ferrous particle in the room, complicate machining and are dangerous to stack. Everything is easier — and cleaner — while the part is inert.
What limits the shapes you can make?
Pressing favours simple dies; complex geometry comes from machining, which costs per cut. Ring, disc, block and arc are economical; exotic shapes are possible but earn their price — often a two-piece design is smarter.
How much material is lost to machining?
Between shrinkage allowances and grinding stock, meaningful percentages — one reason near-net pressing and thoughtful tolerancing (only tight where needed) directly cut your part price.